Email Templates
Administration > System Setup > Email Templates
This page provides a central location for the management of email templates used to draft custom emails that are sent automatically when various events occur.
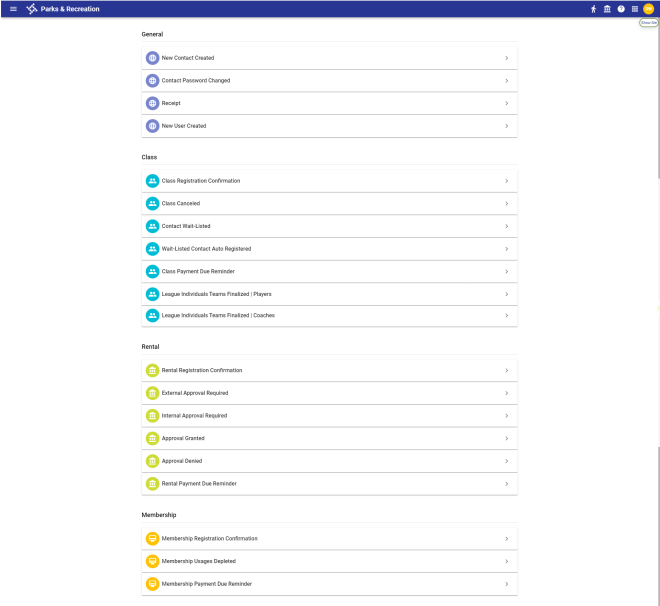
Email categories are General, Class, Rental and Membership. Templates within each category appear on individual cards.
The following templates are provided:
|
Category |
Template |
Recipient |
|---|---|---|
|
General
|
New Contact Created |
Contact |
|
Contact Password Changed |
Contact |
|
|
Receipt |
Payer |
|
|
New User Created |
User |
|
|
Receipt |
Payer |
|
|
Class
|
Class Registration Confirmation |
Payer |
|
Class Canceled |
Payer |
|
|
Contact Wait-Listed |
Payer |
|
|
Wait-Listed Contact Auto Registered |
Payer |
|
|
Class Payment Due Reminder |
Payer |
|
|
League Individuals Teams Finalized | Players |
Contact |
|
|
League Individuals Teams Finalized | Coaches |
Contact |
|
|
Rental
|
Rental Registration Confirmation |
Payer |
|
External Approval Required |
Payer |
|
|
Internal Approval Required |
Payer |
|
|
Approval Granted |
Payer |
|
|
Approval Denied |
Payer |
|
|
Rental Payment Due Reminder |
Payer |
|
|
Membership
|
Membership Registration Confirmation |
Payer |
|
Membership Usages Depleted |
Payer |
|
|
Membership Payment Due Reminder |
Payer |
To set up or edit a template, click the chevron ![]() on the far-right side of the card. A page containing the template opens:
on the far-right side of the card. A page containing the template opens:
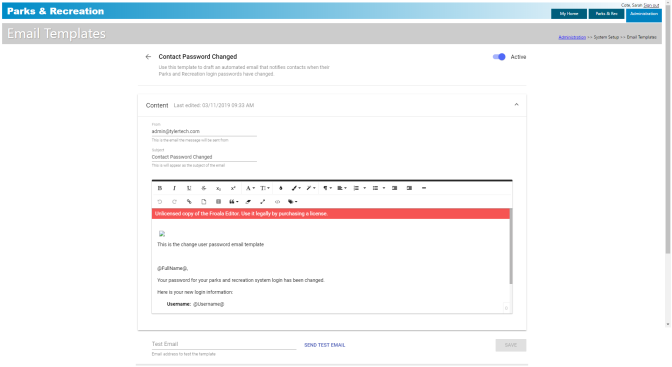
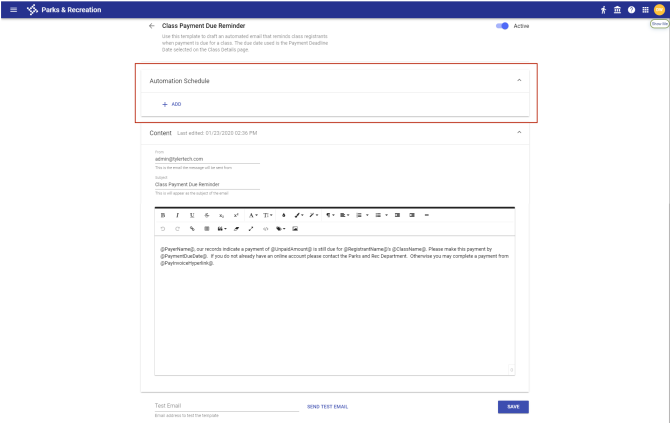
A summary of the type of event that triggers the template to be sent appears below the template title. Below the summary is the template itself, where you fill in the From and Subject fields and draft the content of the email.
Use the icons in the header of the text editor to format and stylize your text and add images and links. Click the Custom Tags icon to select from a drop-down of information placeholders used to populate emails linked to the template:
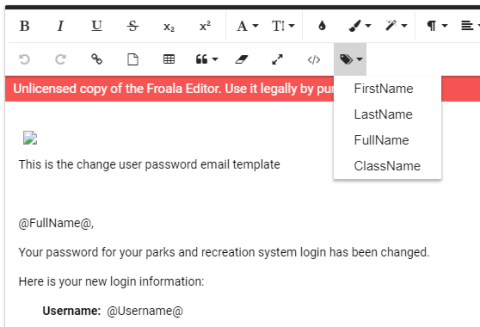
Any placeholder may appear multiple times in the template. Within the body of an email, only the items selected from the drop-down are replaced with system-generated text.
If you are setting up the Internal Approval Required template, an Additional Emails field is available below the template:
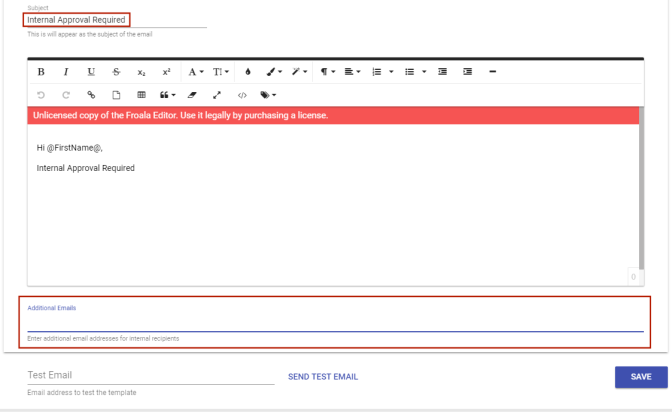
Use this field to enter the email addresses of back office personnel who should receive an email notifying them each time an event requiring internal approval occurs. This feature eliminates the need to navigate to a separate approvals page to search for internal approval requests.
Note: If a registration requires internal approval, the registrant does not receive a registration confirmation email until approval occurs.
The Email Templates page contains three time-based, reminder templates--Class Payment Due Reminder, Rental Payment Due Reminder and Membership Payment Due Reminder.
These reminders are sent based on a schedule you determine, not on specific user actions.
Each time-based template contains an Automation Schedule panel for setting up the times when reminders are sent:
To schedule a time for the email reminder to be sent, click the + ADD button in the Automation Schedule panel. In the field that displays, select the number of days before the payment deadline to have the email sent:

Continue to click the + ADD button to add as many reminders as you need, and click SAVE when you are finished:
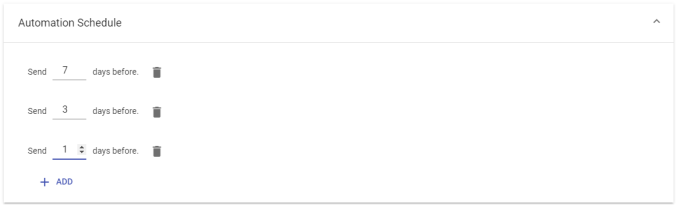
By default, email reminders are sent at 10 a.m. on the days corresponding with the automation schedule.
To delete a reminder, click the trash can icon  next to it.
|
Templates |
||
|---|---|---|
|
Name |
Function |
Trigger |
|
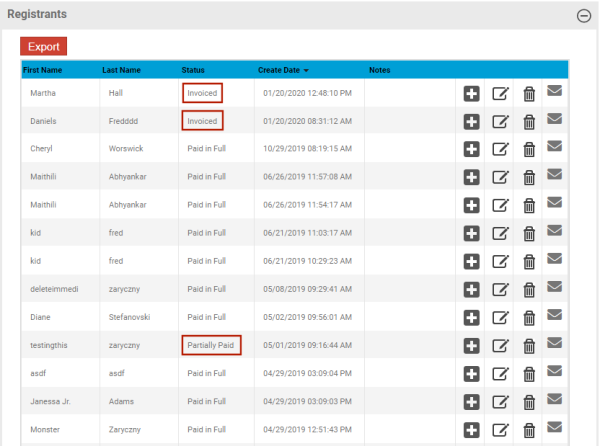
Class Payment Due Reminder |
Reminder to registrants who have signed up for a class using the Pay Later feature and, before the start of the class, still have a balance due. Note: Registrants with a balance due show a Status of Invoiced or Partially Paid in the |
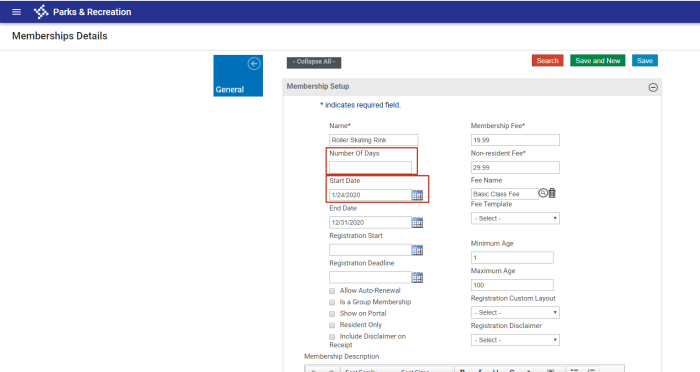
Payment Deadline Date selected on the |
|
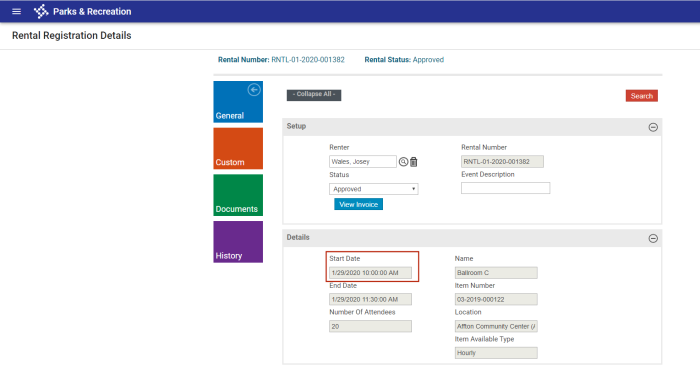
Rental Payment Due Reminder |
Reminder to registrants that payment is due for a rental. |
Start Date selected on the |
|
Membership Payment Due Reminder |
Reminder to membership holders that payment is due for a membership. |
Start Date or the first day calculated from the Number of Days selected on the |

The Content panel of each template is the standard panel for all time-based and event-based templates.
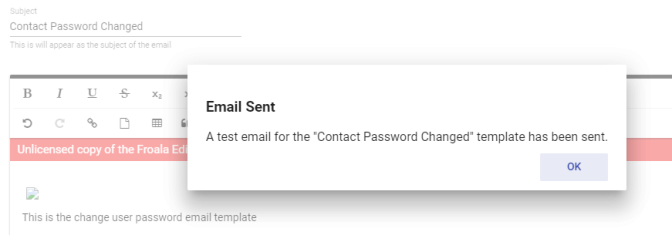
To review an actual email before finalizing the setup or edit, type the appropriate email address in the Test Email field below the email template, and click SEND TEST EMAIL. A confirmation pop-up appears to let you know the email has been sent:
Click the Active/Inactive toggle at the top-right of the page to make the template active or inactive:


To save the template, click the SAVE button below the template.